Ready to take control of your HVAC system and ensure optimal performance? Look no further than this comprehensive how-to guide on installing a micron gauge on your HVAC system. Whether you’re a professional technician or a DIY enthusiast, this step-by-step guide will walk you through the process, providing all the necessary information and tools you’ll need to get started. Say goodbye to guesswork and hello to precision with the help of a micron gauge that will revolutionize the way you monitor and maintain your HVAC system. So, let’s roll up our sleeves and get ready to tackle this rewarding project!
Section 1: Understanding the Micron Gauge
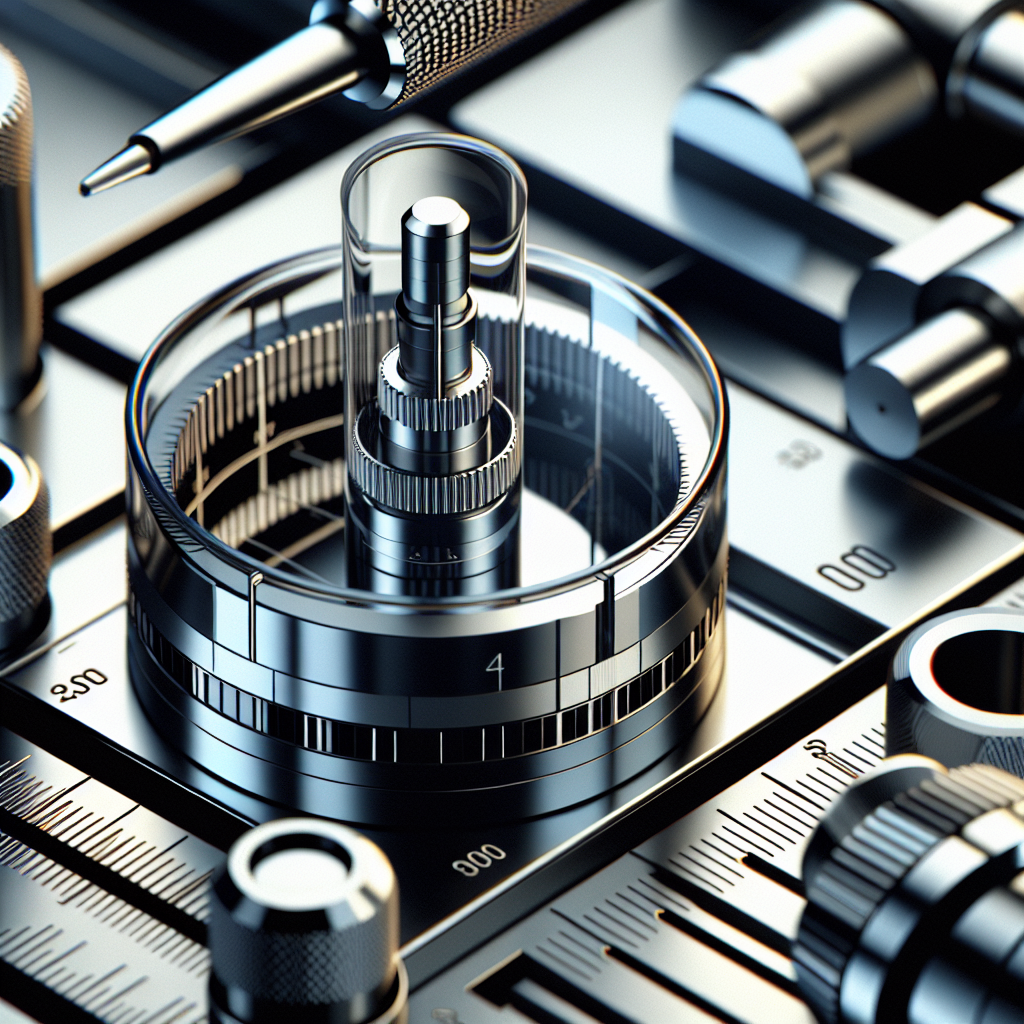
What is a Micron Gauge?
A micron gauge is a device used to measure the level of vacuum in an HVAC system. It measures the pressure in units of microns, which are extremely small increments of pressure. This gauge is essential as it allows you to monitor and maintain the proper vacuum levels in your HVAC system.
Why is a Micron Gauge Important for Your HVAC System?
A micron gauge is crucial for your HVAC system as it helps ensure the system operates efficiently and effectively. Vacuums are created in HVAC systems during the evacuation process, which removes air and moisture. By accurately measuring and maintaining the appropriate vacuum level, the micron gauge prevents the system from experiencing problems such as leaks, system contamination, and reduced cooling or heating performance.
Different Types of Micron Gauges and Their Features
There are various types of micron gauges available, each with its unique features and capabilities. Some popular types include analog gauges, digital gauges, and Bluetooth-enabled gauges. Analog gauges have a traditional needle display, while digital gauges provide precise digital readings. Bluetooth-enabled gauges offer wireless connectivity, allowing you to monitor vacuum levels remotely. When selecting a micron gauge, consider factors such as accuracy, durability, ease of use, and compatibility with your HVAC system.
Section 2: Preparing for Installation
Gathering the Necessary Tools and Equipment
Before installing a micron gauge, gather the required tools and equipment. These may include a drill, screws or mounting brackets, a screwdriver, a wrench, a vacuum pump, a vacuum hose, and appropriate adapters for connecting the gauge.
Ensuring Safety Precautions
Ensure your safety by following proper safety precautions. Make sure to wear appropriate protective gear such as gloves and safety glasses. Additionally, ensure the power to the HVAC system is turned off before starting the installation process.
Shutting Off the Power to the HVAC System
To prevent any accidents during the installation, it is essential to turn off the power to the HVAC system. Locate the main power switch or circuit breaker for the system and turn it off. This precautionary measure will ensure your safety while working on the installation.
Section 3: Locating the Proper Position for the Micron Gauge
Determining the Ideal Location
Choosing the right location for your micron gauge is crucial for accurate readings and easy accessibility. Look for a spot near the vacuum pump or HVAC unit where the gauge can be easily monitored. It is also essential to consider the mounting options available in that area.
Considering Accessibility and Visibility
Ensure the chosen location provides easy accessibility for future maintenance or calibration. Additionally, consider the visibility of the gauge. Select a position where the gauge display is easily readable, ensuring you can monitor the vacuum levels without difficulty.
Section 4: Mounting the Micron Gauge
Selecting the Correct Mounting Bracket
Depending on the chosen location, select the appropriate mounting bracket. Mounting brackets are available in various sizes and styles to accommodate different HVAC systems. Choose a bracket that securely fits the gauge and can be easily attached to the HVAC unit or nearby surface.
Attaching the Mounting Bracket to the HVAC System
Using the appropriate screws or fasteners, attach the mounting bracket securely to the HVAC system or the selected surface. Ensure that the bracket is installed tightly to prevent any movement or vibrations that could affect the accuracy of the gauge.
Securing the Micron Gauge to the Mounting Bracket
Once the mounting bracket is securely installed, attach and secure the micron gauge to the bracket. Follow the manufacturer’s instructions for properly mounting the gauge. Ensure that all connections are tight and secure to avoid any potential leaks or damage.
Section 5: Connecting the Micron Gauge
Identifying the Appropriate Connection Points
Identify the correct connection points on your HVAC system for attaching the micron gauge. This typically involves connecting the gauge in line with the vacuum pump or at a designated connection port on the system. Consult the manufacturer’s instructions or refer to the system’s documentation for guidance.
Ensuring Proper Sealing and Tightening of Connections
To ensure accurate readings and prevent any leaks, ensure proper sealing and tightening of all connections. Use appropriate sealing materials such as Teflon tape or thread sealant to create a tight seal. Tighten the connections using the appropriate tools, ensuring they are secure but not over-tightened, which could cause damage.
Section 6: Testing the Micron Gauge
Turning On the Power to the HVAC System
Now that the gauge is installed and connected, it is time to turn the power back on to the HVAC system. Use the main power switch or circuit breaker to restore power to the system. This will allow the gauge to power up and start displaying vacuum readings.
Checking the Micron Gauge Display
Once the power is restored, check the micron gauge display to ensure it is functioning correctly. The gauge should show an initial reading close to zero microns, indicating that the system is properly sealed. Monitor the gauge readings over time to ensure they remain within the desired range.
Verifying the Accuracy of the Micron Gauge
To verify the accuracy of the micron gauge, compare the readings to a known reference gauge or follow the recommendations provided by the manufacturer. If there are any significant discrepancies, consider calibrating the gauge to improve its accuracy.
Section 7: Calibrating the Micron Gauge
Understanding the Calibration Process
Calibrating a micron gauge involves adjusting the gauge to ensure its readings match a known standard or reference. This process helps maintain the accuracy of the gauge over time. It is essential to understand the calibration process and follow the manufacturer’s instructions or consult a professional for assistance.
Following the Manufacturer’s Instructions
Each micron gauge may have specific calibration procedures outlined by the manufacturer. Follow these instructions carefully to calibrate the gauge accurately. This may involve adjusting settings on the gauge or using calibration equipment provided by the manufacturer.
Adjusting the Micron Gauge Accuracy
During the calibration process, make precise adjustments to the micron gauge to improve its accuracy. Use the reference gauge or calibration equipment provided by the manufacturer to assist in this process. Regular calibration ensures the gauge continues to provide accurate readings, maintaining the proper vacuum levels in the HVAC system.
Section 8: Troubleshooting Common Issues
Interpreting Error Messages
Sometimes, the micron gauge may display error messages or unusual readings. Refer to the gauge’s user manual or contact the manufacturer for troubleshooting guidelines. Error messages can indicate issues such as incorrect connections, leaks, or malfunctions that may require further investigation or repairs.
Checking for Leaks
If you suspect a leak in your HVAC system, use an electronic leak detector or soapy water solution to identify the source. Leaks can negatively impact the vacuum levels and system performance. Once detected, repair the leak promptly to ensure proper functioning of the HVAC system.
Replacing Faulty Components
If troubleshooting identifies faulty components in the HVAC system, they may need to be replaced. Whether it is a valve, hose, or other parts, consult a professional technician or refer to the manufacturer’s guidelines for replacing faulty components. This will help maintain the reliability and efficiency of the HVAC system.
Section 9: Maintenance and Care
Cleaning the Micron Gauge Regularly
Regular cleaning of the micron gauge helps maintain its accuracy and functionality. Use a soft cloth or mild cleaning solution to remove dust, dirt, or any other contaminants that may accumulate on the gauge’s surface. Pay special attention to the display area to ensure easy readability.
Storing the Micron Gauge Properly
If you need to remove the micron gauge temporarily, store it in a safe and clean environment. Protect it from extreme temperatures, moisture, and physical damage. Follow the manufacturer’s instructions for proper storage to prolong the lifespan and reliability of the gauge.
Inspecting for Wear and Tear
Periodically inspect the micron gauge for any signs of wear and tear. Check for loose connections, damaged cables, or any other visible defects. If any issues are detected, address them promptly to prevent further damage or inaccurate readings.
Section 10: Conclusion
Benefits of Installing a Micron Gauge
Installing a micron gauge on your HVAC system provides various benefits. It allows for accurate monitoring of vacuum levels, ensures system efficiency, prevents leaks and contamination, and helps maintain optimal cooling and heating performance. A properly installed and calibrated micron gauge contributes to the longevity and reliability of your HVAC system.
Tips for Optimizing Micron Gauge Performance
To optimize the performance of your micron gauge, follow these tips:
- Regularly calibrate the gauge to maintain accuracy.
- Keep the gauge clean to ensure clear visibility of readings.
- Monitor the gauge readings during evacuation to detect any irregularities.
- Address any leaks promptly to prevent vacuum level fluctuations.
- Keep up with regular maintenance to prevent wear and tear.
By following these guidelines, you can maximize the benefits of your micron gauge and ensure the optimal performance of your HVAC system.