Congratulations on your new stand mixer! We’re here to help you make the most of this exciting addition to your kitchen. In this article, we’ll walk you through the unboxing process and give you all the tips and tricks you need for your first use. Whether you’re a baking enthusiast or just starting out, this beginner’s guide will ensure a smooth and enjoyable experience with your new stand mixer. So, let’s get started and unlock the full potential of your culinary adventures!
Choosing the Right Stand Mixer
When it comes to choosing the right stand mixer for your kitchen, it’s important to consider your cooking needs. Think about the types of recipes you’ll be making and the quantities you’ll be preparing. If you often bake large batches of cookies or bread dough, you may want to opt for a stand mixer with a larger capacity. On the other hand, if you primarily cook for one or two people, a smaller stand mixer might be sufficient.
Once you have an idea of your cooking needs, it’s time to research different models. Look for stand mixers that have the features you are looking for, such as multiple attachments or a powerful motor. Read product descriptions and compare specifications to narrow down your options.
Customer reviews can also be a valuable resource when choosing a stand mixer. Take the time to read reviews from other home cooks and bakers who have used the stand mixer you are considering. They can provide valuable insights into the performance, durability, and overall satisfaction with the product.
Lastly, it’s important to compare prices. Stand mixers can vary greatly in price, so it’s essential to determine how much you’re willing to invest in a quality appliance. Consider your budget and weigh it against the features and performance of each stand mixer you are considering.
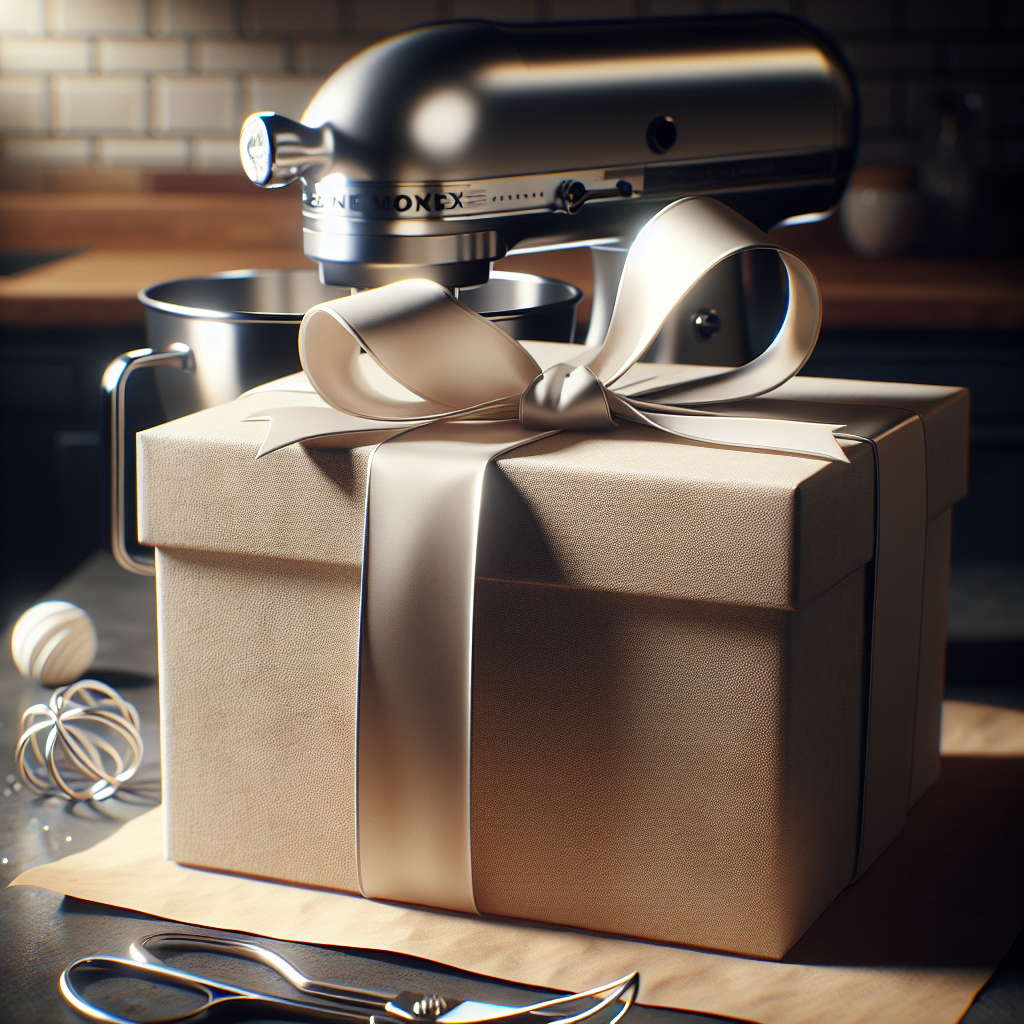
Unboxing Your Stand Mixer
Now that you have chosen the perfect stand mixer, it’s time to unbox it and get ready to use it. Follow these steps to ensure a smooth unboxing experience:
-
Inspect the packaging: Before opening the box, take a moment to inspect the packaging for any signs of damage. Look for dents, tears, or punctures that may have occurred during shipping. If you notice any damage, contact the seller or manufacturer immediately.
-
Remove the Styrofoam and protective packaging: Carefully remove any Styrofoam or protective packaging materials that are securing the stand mixer in the box. Be mindful of any fragile parts or attachments and handle them with care.
-
Check for any damages or missing parts: Once you have removed the packaging, thoroughly inspect the stand mixer for any damages or missing parts. Check for any scratches, dents, or defects that may affect the performance or appearance of the appliance. If any parts are missing, contact the manufacturer for replacements.
-
Read the user manual: Before using your stand mixer, take the time to read the user manual. Familiarize yourself with the different components, safety precautions, and operating instructions. This will ensure that you have a clear understanding of how to use your stand mixer properly and avoid any potential accidents or damage.
Getting Familiar with the Components
Before you start using your stand mixer, it’s essential to get familiar with the different components and attachments. Here are the key components you should know about:
-
Bowl and Bowl-Lift Mechanism: The bowl is where you will mix and prepare your ingredients. The bowl-lift mechanism allows you to raise and lower the bowl, making it easier to add ingredients and attach various accessories.
-
Beater Attachment Options: Stand mixers typically come with different types of beaters, such as a flat beater, a wire whip, and a dough hook. Each attachment serves a specific purpose, so it’s important to understand which one to use for different recipes.
-
Speed Controls: Stand mixers usually have several speed settings to choose from. Familiarize yourself with the different speed options and their respective functions to ensure optimal mixing results.
-
Power Hub: The power hub is a feature that allows you to attach various accessories to extend the functionality of your stand mixer. Explore the different attachments available for your specific model and consider how they can enhance your cooking experience.
Preparing Your Stand Mixer for First Use
Before you start using your stand mixer, it’s essential to prepare it for its first use. Here are the steps to follow:
-
Washing the Bowl and Attachments: Remove all packaging materials and wash the bowl, beaters, and any other accessories with warm, soapy water. Rinse thoroughly and dry them completely before proceeding.
-
Attaching the Bowl to the Stand Mixer: Align the bowl with the bowl-lift mechanism and lower it into place. Ensure that it is firmly secured before moving on to the next step.
-
Choosing and Attaching the Beater: Select the appropriate beater attachment for your recipe. Attach it to the stand mixer by inserting it into the beater shaft and locking it into place.
-
Plugging in the Stand Mixer: Find a suitable power outlet and plug in your stand mixer. Ensure that the power cord is not tangled or obstructed and that it is securely connected to both the mixer and the outlet.
Understanding the Speed Settings
The speed settings on your stand mixer play a crucial role in achieving the desired mixing results. Here’s what you need to know about each speed setting:
-
Low Speeds for Mixing and Kneading: The low speed settings are perfect for mixing ingredients together and kneading dough. Use the lowest speed to avoid splattering or overmixing the ingredients.
-
Medium Speeds for Creaming and Beating: Medium speeds are ideal for creaming butter and sugar, as well as beating eggs. This setting provides enough power to incorporate air into the mixture, creating a light and fluffy texture.
-
High Speeds for Whipping and Aerating: High speeds are used for whipping cream, beating egg whites, and aerating light batters. This setting creates maximum air incorporation and is perfect for achieving a stiff peak consistency.
-
Using the Pulse Function: Some stand mixers have a pulse function that allows you to quickly mix ingredients or give them a burst of power. This function is useful for incorporating dry ingredients into wet mixtures or for briefly mixing in added ingredients.
Using Your Stand Mixer for the First Time
Now that your stand mixer is ready to use, it’s time to put it to the test. Follow these steps for a successful first-time use:
-
Adding Ingredients to the Bowl: Measure out your ingredients as per your recipe and add them to the bowl. Start with the wet ingredients and then gradually add the dry ingredients.
-
Adjusting the Speed as Needed: Depending on your recipe, adjust the speed settings accordingly. Begin with a low speed to incorporate the ingredients, and then increase the speed as needed for proper mixing and blending.
-
Monitoring the Mixing Progress: Keep an eye on the mixing progress to ensure that all ingredients are properly combined. Use a spatula or scraper to scrape down the sides of the bowl if necessary, to ensure even mixing.
-
Testing the Mixer’s Performance: Once the mixing process is complete, evaluate the performance of your stand mixer. Check for any lumps, proper blending, and overall consistency. If the results are not as desired, make note of the adjustments needed for future use.
Common Stand Mixer Mistakes to Avoid
While using your stand mixer, there are a few common mistakes that you should avoid:
-
Overloading the Bowl: It can be tempting to add all your ingredients at once, but overloading the bowl can strain the motor and affect the mixing results. Follow your stand mixer’s specific capacity guidelines and work in batches if necessary.
-
Not Starting on a Low Speed: Starting your mixer on a high speed can cause ingredients to splatter out of the bowl and create a mess. Always start on a low speed and gradually increase as needed.
-
Forgetting to Scrape the Bowl: Neglecting to scrape down the sides of the bowl during the mixing process can result in unevenly mixed ingredients. Make sure to stop the mixer and use a spatula or scraper to incorporate any unmixed ingredients from the sides of the bowl.
-
Leaving the Mixer Unattended: It’s important to never leave your stand mixer unattended, especially when it is running. Stay nearby to monitor the progress and stop the mixer if any issues arise.
Cleaning and Maintaining Your Stand Mixer
Proper cleaning and maintenance of your stand mixer will ensure its longevity and optimal performance. Follow these steps to keep your stand mixer in tip-top shape:
-
Unplugging the Stand Mixer: Before cleaning, always unplug the stand mixer from the power source to prevent any accidents.
-
Cleaning the Bowl and Attachments: Remove the bowl, attachments, and any other removable parts. Wash them with warm, soapy water and rinse thoroughly. Dry them completely before storing or reassembling.
-
Wiping Down the Exterior: Use a damp cloth or sponge to wipe down the exterior of the stand mixer. Avoid using abrasive cleaners or abrasive materials that could scratch the surface.
-
Storing the Stand Mixer Properly: Find a suitable storage space for your stand mixer where it can be easily accessed but protected from dust and potential damage. Consider using the original packaging or a dedicated stand mixer cover to keep it safe.
Exploring Additional Stand Mixer Features
Once you have mastered the basic functions of your stand mixer, it’s time to explore additional features and accessories. Here are a few ways to maximize the functionality of your stand mixer:
-
Utilizing the Power Hub for Attachments: Many stand mixers come with a power hub that allows you to attach various accessories. Explore the available attachments, such as pasta makers, meat grinders, or citrus juicers, to expand your culinary capabilities.
-
Exploring Accessories and Attachments: Aside from the power hub attachments, there are many other accessories available for your stand mixer. From different bowl sizes to specialty beaters, these accessories can enhance your cooking experience.
-
Trying Out Different Mixing Techniques: Experiment with different mixing techniques, such as the creaming method or the folding technique, to achieve different textures and results. Get creative and try new recipes to fully utilize your stand mixer’s capabilities.
-
Exploring Advanced Features and Functions: As you become more comfortable using your stand mixer, explore advanced features and functions. Some models have built-in timers, auto-shutoff capabilities, or even pre-programmed settings for specific recipes. Take advantage of these advanced features to streamline your cooking process.
Troubleshooting Common Stand Mixer Issues
While stand mixers are generally reliable appliances, occasional issues may arise. Here are some common problems and troubleshooting tips:
-
Mixer not Turning On: Check if the stand mixer is properly plugged in and the power source is functioning. Ensure that all components are securely attached and that there are no loose connections. If the issue persists, consult the user manual or contact the manufacturer for assistance.
-
Bowl Lift Mechanism Malfunctioning: If the bowl lift mechanism is not working properly, check for any obstructions or debris that may be hindering its movement. If necessary, disassemble the mechanism and clean it thoroughly. If the problem persists, contact the manufacturer for further guidance.
-
Beater Attachment not Fitting Properly: If the attachment is not properly fitting or locking into place, ensure that you have selected the correct attachment for your desired function. Check for any obstructions or debris that may be preventing a secure connection. If the issue continues, consult the user manual or reach out to the manufacturer for assistance.
-
Excessive Vibrations or Noises: If your stand mixer is vibrating excessively or making unusual noises, check for any loose parts or attachments. Ensure that the stand mixer is on a stable surface and that all components are properly secured. If the problem persists, contact the manufacturer for further troubleshooting steps.
With this comprehensive guide, you are now equipped with the knowledge to choose, unbox, and effectively use your new stand mixer. Enjoy exploring new recipes and baking with ease, thanks to your new kitchen companion. Happy mixing!