In this article, you will find a comprehensive guide to cleaning and maintaining your coffee grinder, step by step. Whether you’re a seasoned coffee aficionado or just starting your journey into the world of coffee, keeping your grinder clean is essential for preserving the flavor and quality of your brew. From the importance of regular cleaning to the tools and techniques you’ll need, this guide will equip you with everything you need to know to ensure your coffee grinder stays in top shape for a delicious cup of joe every time.

Cleaning
Keeping your coffee grinder clean is essential for maintaining the quality of your coffee and ensuring that your machine functions properly. Regular cleaning helps prevent the buildup of coffee residue and oils that can affect the taste of your brew. In this article, we will guide you through the step-by-step process of cleaning and maintaining your coffee grinder.
Daily Cleaning
To keep your coffee grinder in good condition, it’s important to perform a quick cleaning routine every day. Start by unplugging the grinder to ensure your safety. Then, use a brush or a clean, dry cloth to wipe away any coffee grounds or residue that may be stuck on the exterior or in the grinding chamber. This will prevent the accumulation of leftover coffee grounds and keep your grinder ready for the next use.
Weekly Cleaning
In addition to the daily cleaning routine, it’s advisable to perform a more thorough cleaning of your coffee grinder once a week. This will help remove any buildup of oils and residue that may have accumulated over time.
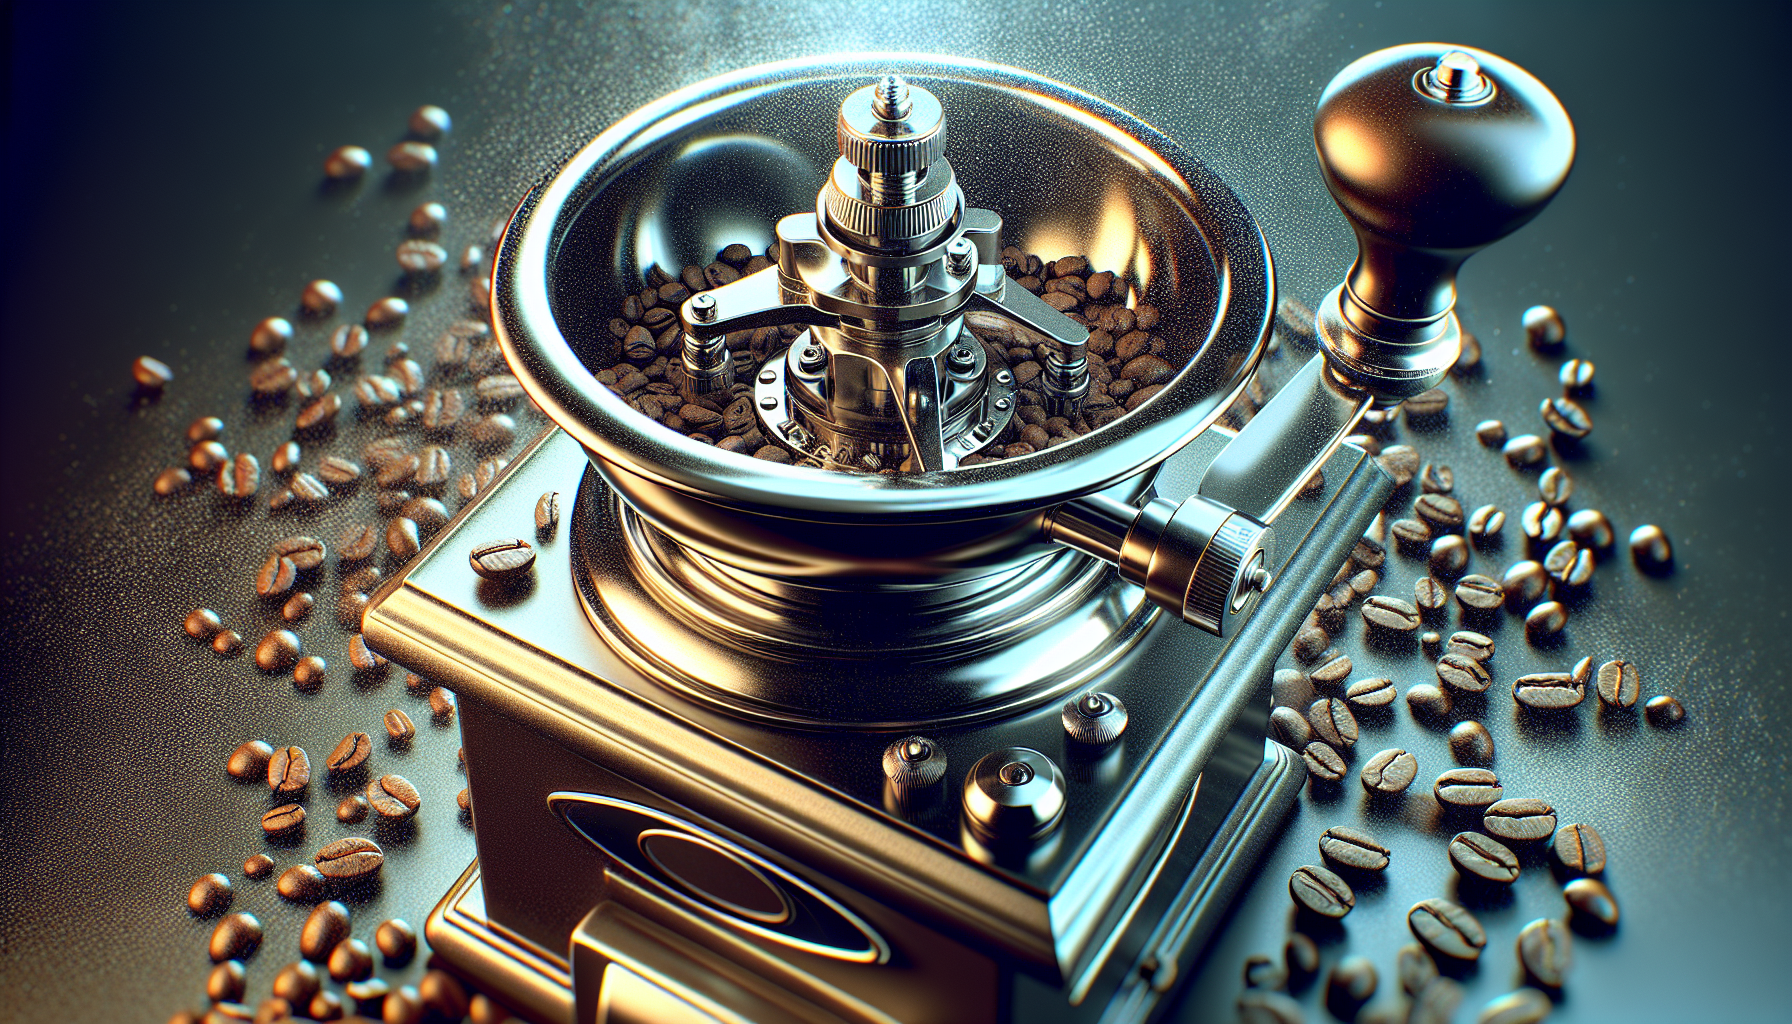
Disassembling the Grinder
Before you start the cleaning process, it’s important to disassemble the grinder properly. This will allow you to clean each component individually and thoroughly. Follow these steps to disassemble your grinder:
Unplugging the Grinder
Before disassembling your grinder, always remember to unplug it from the power source. This ensures your safety and prevents any accidental operation of the grinder during the cleaning process.
Removing the Hopper
The hopper is the part of the grinder that holds the coffee beans. To remove it, simply twist it counterclockwise until it comes off. Be careful not to force it or apply excessive pressure, as this may damage the grinder. Once the hopper is removed, set it aside for cleaning.
Removing the Burrs
The burrs are the grinding mechanism of your coffee grinder and are responsible for producing a consistent grind size. To remove the burrs, consult your grinder’s user manual for specific instructions, as the process can vary depending on the model. In general, you’ll need to unscrew or unlock the burrs using the designated tools provided with your grinder. Once the burrs are detached, carefully lift them out and set them aside for cleaning.
Cleaning the Hopper and Burrs
Now that you have disassembled your grinder, it’s time to clean the individual components. Focus on the hopper and the burrs to ensure they are free from any coffee residue or oils.
Removing Coffee Residue
To remove coffee residue from the hopper and burrs, start by gently tapping them to dislodge any loose grounds. Next, use a brush or a clean, dry cloth to wipe away any remaining residue. Be thorough but gentle to avoid damaging the delicate components.
Cleaning with Water and Soap
For a more comprehensive cleaning, you can wash the hopper and burrs with warm water and mild dish soap. Fill a sink or basin with warm water and add a small amount of soap. Place the hopper and burrs in the soapy water and let them soak for a few minutes. Then, use a soft brush or cloth to scrub away any remaining residue. Rinse the components thoroughly with clean water to remove all soap residue.
Drying the Parts
After cleaning, it’s important to dry the hopper and burrs completely before reassembling the grinder. You can either let them air dry or use a clean, dry cloth to remove any excess moisture. Make sure the components are completely dry to prevent any rusting or damage.

Cleaning the Grinding Chamber
The grinding chamber is where the magic happens, where coffee beans are transformed into your desired grind size. To ensure a clean and efficient grinding process, it’s important to clean the chamber regularly.
Removing Coffee Grounds
Before cleaning the grinding chamber, make sure it is empty of any coffee grounds. You can do this by either grinding the remaining coffee beans or using a brush to gently remove any stuck grounds. Thoroughly clean the area around the grinding burrs to ensure no residue is left behind.
Cleaning with a Brush
To clean the grinding chamber, use a brush specifically designed for cleaning coffee grinders. Gently brush the interior walls and the burrs to remove any residual coffee particles or oils. Be sure to reach all the nooks and crannies to ensure a thorough cleaning.
Wiping with a Damp Cloth
After brushing, use a damp cloth to wipe down the interior of the grinding chamber. This will help remove any remaining residue and leave the chamber clean and ready for your next brewing session.
Cleaning the Body and Exterior
Keeping the body and exterior of your coffee grinder clean not only improves its appearance but also extends its lifespan. Regular cleaning helps remove stains and prevents the accumulation of dirt and debris.
Wiping with a Damp Cloth
To clean the body and exterior of your coffee grinder, start by wiping it down with a damp cloth. Make sure the cloth is damp and not soaking wet to avoid any damage to the electrical components. Gently wipe the entire surface of the grinder, including buttons, knobs, and displays.
Removing Stains
If there are stubborn stains on the exterior of your grinder, you can use a mild cleaning solution or vinegar diluted with water. Apply a small amount of the solution to a cloth and gently rub the stained area until the stain disappears. Rinse the cloth and wipe away any residue from the cleaning solution.
Cleaning the Cord
The cord of your coffee grinder can also accumulate dirt and dust over time. To clean it, use a damp cloth to wipe away any visible dirt. Avoid immersing the cord in water or using any cleaning agents that may damage the electrical components.
Maintenance
Regular maintenance of your coffee grinder helps ensure its optimal performance and extends its lifespan. In addition to regular cleaning, there are a few maintenance tasks you should perform to keep your grinder in excellent condition.
Cleaning the Burr Grinder Monthly
While daily and weekly cleaning is essential, it’s also important to conduct a more thorough cleaning of the burr grinder on a monthly basis. Follow the steps outlined earlier to disassemble the grinder and clean the individual components. Be sure to remove any coffee residue and oils that may have accumulated over time. This monthly deep clean will help maintain the quality of your grind and prevent any blockages or malfunctions.
Lubricating the Burr Grinder
To keep the burr grinder running smoothly, it’s recommended to lubricate the moving parts periodically. Consult your grinder’s user manual for specific instructions on which lubricant to use and how often to apply it. Lubricating the grinder prevents friction and ensures a consistent and smooth grinding experience.
Replacing the Burrs
Over time, the burrs of your coffee grinder may wear down and become less effective at producing a consistent grind size. When this happens, it’s necessary to replace the burrs to maintain optimal performance.
Checking for Wear
To determine if your burrs need replacement, inspect them for signs of wear. Look for any chips, cracks, or significant dulling of the edges. If you notice any signs of wear, it’s time to replace the burrs.
Installing New Burrs
To install new burrs, consult your grinder’s user manual for specific instructions. In general, you’ll need to follow a similar process as when disassembling the grinder. Use the designated tools provided with your grinder to unlock or unscrew the old burrs, and then carefully insert and secure the new burrs.
Calibrating the Grinder
Calibrating your coffee grinder is an important step in ensuring a consistent grind size, which is essential for brewing the perfect cup of coffee. Follow these steps to calibrate your grinder:
Adjusting the Grind Size
Start by consulting your grinder’s user manual to understand how to adjust the grind size. Most grinders have a dial or a knob that allows you to choose the desired grind size. Experiment with different settings until you achieve the grind size that suits your brewing method.
Ensuring Consistent Grind
Once you have adjusted the grind size, it’s important to grind a small sample of coffee and check its consistency. The ground coffee should have a uniform texture, with no large or uneven particles. Adjust the grind size as needed until you achieve a consistently even grind.
Troubleshooting
Even with proper cleaning and maintenance, occasional problems may arise with your coffee grinder. Here are some common issues and possible solutions:
Grinder Not Starting
If your grinder does not start when you plug it in and press the power button, check if it is properly plugged into a functioning electrical outlet. Ensure that the power cord is not damaged or frayed. If the issue persists, consult your grinder’s user manual for further troubleshooting steps or contact customer support.
Uneven Grind
If your grinder produces an uneven grind, check if the burrs are properly aligned and installed. Uneven wear or damage to the burrs can also cause an inconsistent grind. In such cases, consider replacing the burrs to ensure a more consistent grind size.
Strange Noise
If your grinder is making unusual or loud noises during operation, it may be a sign of a mechanical problem. Check if any foreign objects or debris are stuck in the grinding chamber or burrs. Clean the grinder thoroughly and remove any obstructions. If the problem persists, seek professional assistance.
Storing the Grinder
Proper storage of your coffee grinder is essential for its longevity and performance. Here are some tips for storing your grinder:
Cleaning Before Storage
Before storing your grinder, make sure to clean it thoroughly. Follow the cleaning steps outlined earlier to remove any coffee residue or oils. This will prevent the growth of mold or bacteria and keep your grinder ready for use when needed.
Removing Coffee Beans
To prevent the beans from absorbing any moisture or odors, it’s advisable to remove them from the hopper before storage. Place any remaining beans in an airtight container to maintain their freshness.
Storing in a Dry Place
Lastly, store your grinder in a cool, dry place to prevent any damage or rusting. Avoid storing it near sources of heat, moisture, or direct sunlight, as these can negatively affect the grinder’s performance and longevity.
In conclusion, regular cleaning and maintenance are crucial for keeping your coffee grinder in optimal condition. By following the step-by-step guide outlined in this article, you can ensure that your grinder delivers consistent and flavorful coffee every time. Remember to consult your grinder’s user manual for any specific cleaning or maintenance instructions and always prioritize your safety when handling electrical appliances. With proper care and attention, your coffee grinder will continue to be your trusty companion on your coffee brewing journey.