Welcome to the ultimate guide on “DIY Installation Tips for Smart Irrigation Systems“. This must-read article provides you, dear reader, a step-by-step tutorial on how to set up smart irrigation systems in your garden on your own. It’s jam-packed full of helpful advice from seasoned professionals, teaching you how to configure settings, solve common problems, and properly maintain these systems for maximum performance. This guide will not only save you some extra bucks on installation costs, but also empower you to create the lush, vibrant garden you’ve always dreamed of. So, roll up your sleeves and let’s dive right in! Are you all set to make your lawn smarter and your life a little easier with a smart irrigation system? If you’re technically savvy and looking to save some money, installing the system on your own could be just for you. This straightforward guide will assist you, providing you with everything you need for a successful DIY installation.

Understanding a Smart Irrigation System
Smart irrigation systems are a game-changer in the world of home gardening. They save you time, energy, and most importantly, water. How? They use data from sensors, weather forecasts, and plant-care databases to automatically adjust your watering schedule, ensuring your garden gets exactly the water it needs, and no more.
Why Opt for a Smart Irrigation System
Moving towards a smart irrigation system is a smart investment for you and the environment. These systems minimize water wastage, protect your garden from over-watering, and can be controlled with just a few taps on your smartphone.
In the long run, smart irrigation systems could also cut your water bill. By watering only when required and using the exact amount of water needed, you avoid wastage and in turn, save money. Plus, you get the peace of mind knowing your plants are always taken care of, regardless of your busy schedule or if you’re out of town.

Planning Your Smart Irrigation System
Mapping out the irrigation system is key to an effective and efficient set-up. Having a clear plan will save you from potential mistakes or missed areas in your garden.
Measure Your Garden Space
First, measure the entire area to be irrigated. This includes your lawn, flowerbeds, and anything else that requires watering. Be sure to note down any slopes or unusually shaped sections as well.
Identify Zones
Different areas of your garden may have different water needs. Segment the garden into various zones based on plant types, sun exposure, and soil condition. This will help your smart watering system deliver the right amounts of water to the right places.
Plan Pipelines and Sprinkler Heads
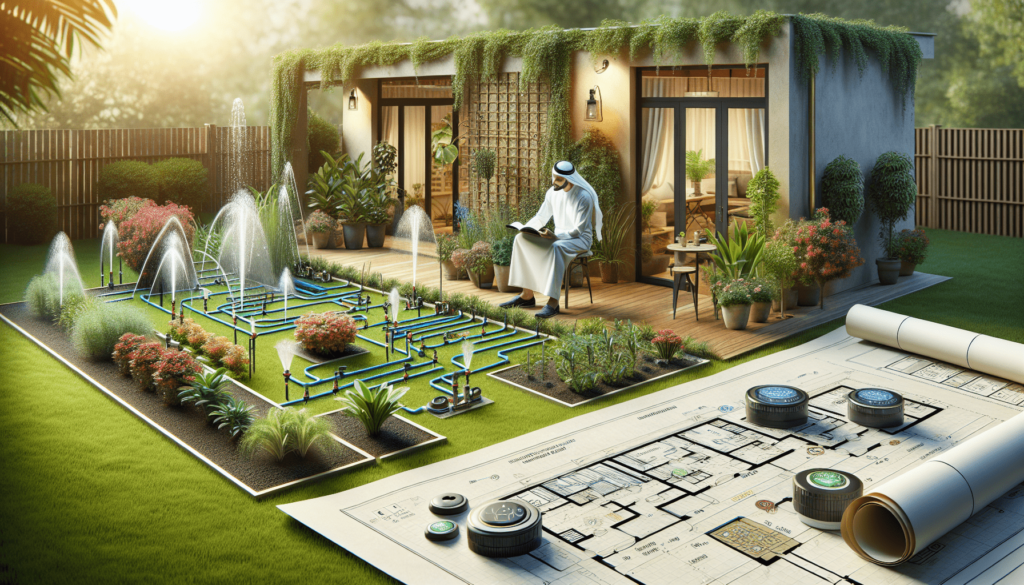
Draw a rough sketch of your garden and mark the zones. Plan where pipelines will need to go and where to place the sprinkler heads for maximum coverage. Keep in mind that sprinkler heads need to ‘overlap’ to ensure all areas get watered properly.

Selecting Your Smart Irrigation System
With your plan at hand, now you can dive into selecting the most suitable smart irrigation system.
Features to Look For
Check whether these essential features are available in the system you are considering.
- Customized watering based on the climate
- Control through mobile app
- Leak detection
- Rain delay feature
- Individual zone control
Brands and Reviews
Do some research on brands that offer smart irrigation systems. Also, it’s advisable to read through user reviews to get a sense of the system’s performance and reliability.

DIY Installation Tips for Smart Irrigation Systems
After buying your chosen system, you’re ready to get your hands dirty. Below, we break down the DIY installation process for you.
Install the Controller
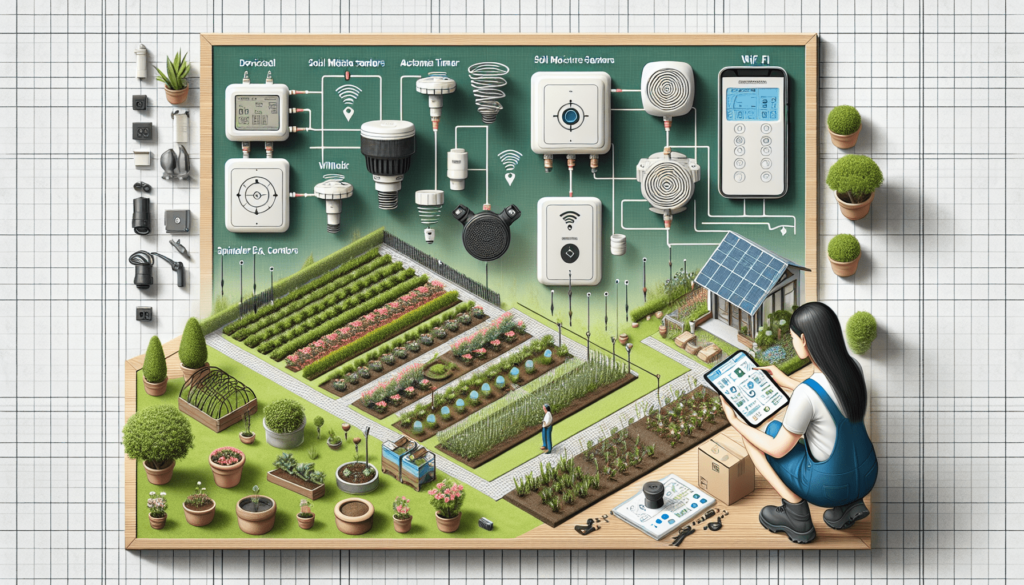
Install the irrigation controller in a weather-proof area where it has access to Wi-Fi. This could be a garage or a garden shed. The controller is the brain of the system, communicating with your mobile app, the weather data, and controlling the watering schedule.
Install the Sensors
Next, place the sensors – moisture, sunlight, and temperature – in various zones of your garden. These sensors feed real-time data to the controller, helping it make smart watering decisions.
Install the Irrigation Piping and Sprinkler Heads
Lay the piping according to your garden plan. Make sure the pipes are buried deep enough to avoid accidental damage, but not too deep as it may affect the sprinkler coverage. Install the sprinkler heads at the planned locations to ensure uniform coverage.
Test the System
Once everything is in place, perform a test run of the system. Check for any leaks or irregular watering patterns and correct as necessary.
You did it! You’ve just given your garden the gift of smart watering while saving your pocket and the environment at the same time. Remember, though seemingly a lot, taking the DIY route can be rewarding with a bit of patience and practice.
Remember: every garden is unique with different needs, so take the time to understand your garden before plugging into a smart irrigation system. Enjoy your evergreen garden and the convenience a smart irrigation system brings you. Happy gardening!
