Have you ever wondered how you could extend the cozy warmth of your living room into your backyard, especially when it gets chilly? Outdoor patios can be lovely spaces to unwind, but without the appropriate heating, they can quickly become off-limits once the temperature drops.
The good news is, with some handy skills and creativity, you can build your very own DIY patio heater and save quite a bit compared to purchasing a brand-new one. Not only does this project offer a sense of accomplishment, but it also allows you to customize the heater to blend seamlessly with your outdoor decor.


The Appeal of DIY Patio Heaters
Modern patio heaters can range from $100 to $500 or more depending on the brand and features. While leading brands like Bromic and Fire Sense offer high-quality products, you might find they come with a hefty price tag. Building your own patio heater presents a cost-effective alternative. Plus, crafting a DIY heater can be a fulfilling exercise that brings a personal touch to your outdoor space.
Understanding the Different Types of Patio Heaters
Before embarking on your DIY journey, it’s crucial to understand the various types of patio heaters available. Each type has its unique heating mechanism and suitability depending on the setup of your patio space.
Propane Patio Heaters
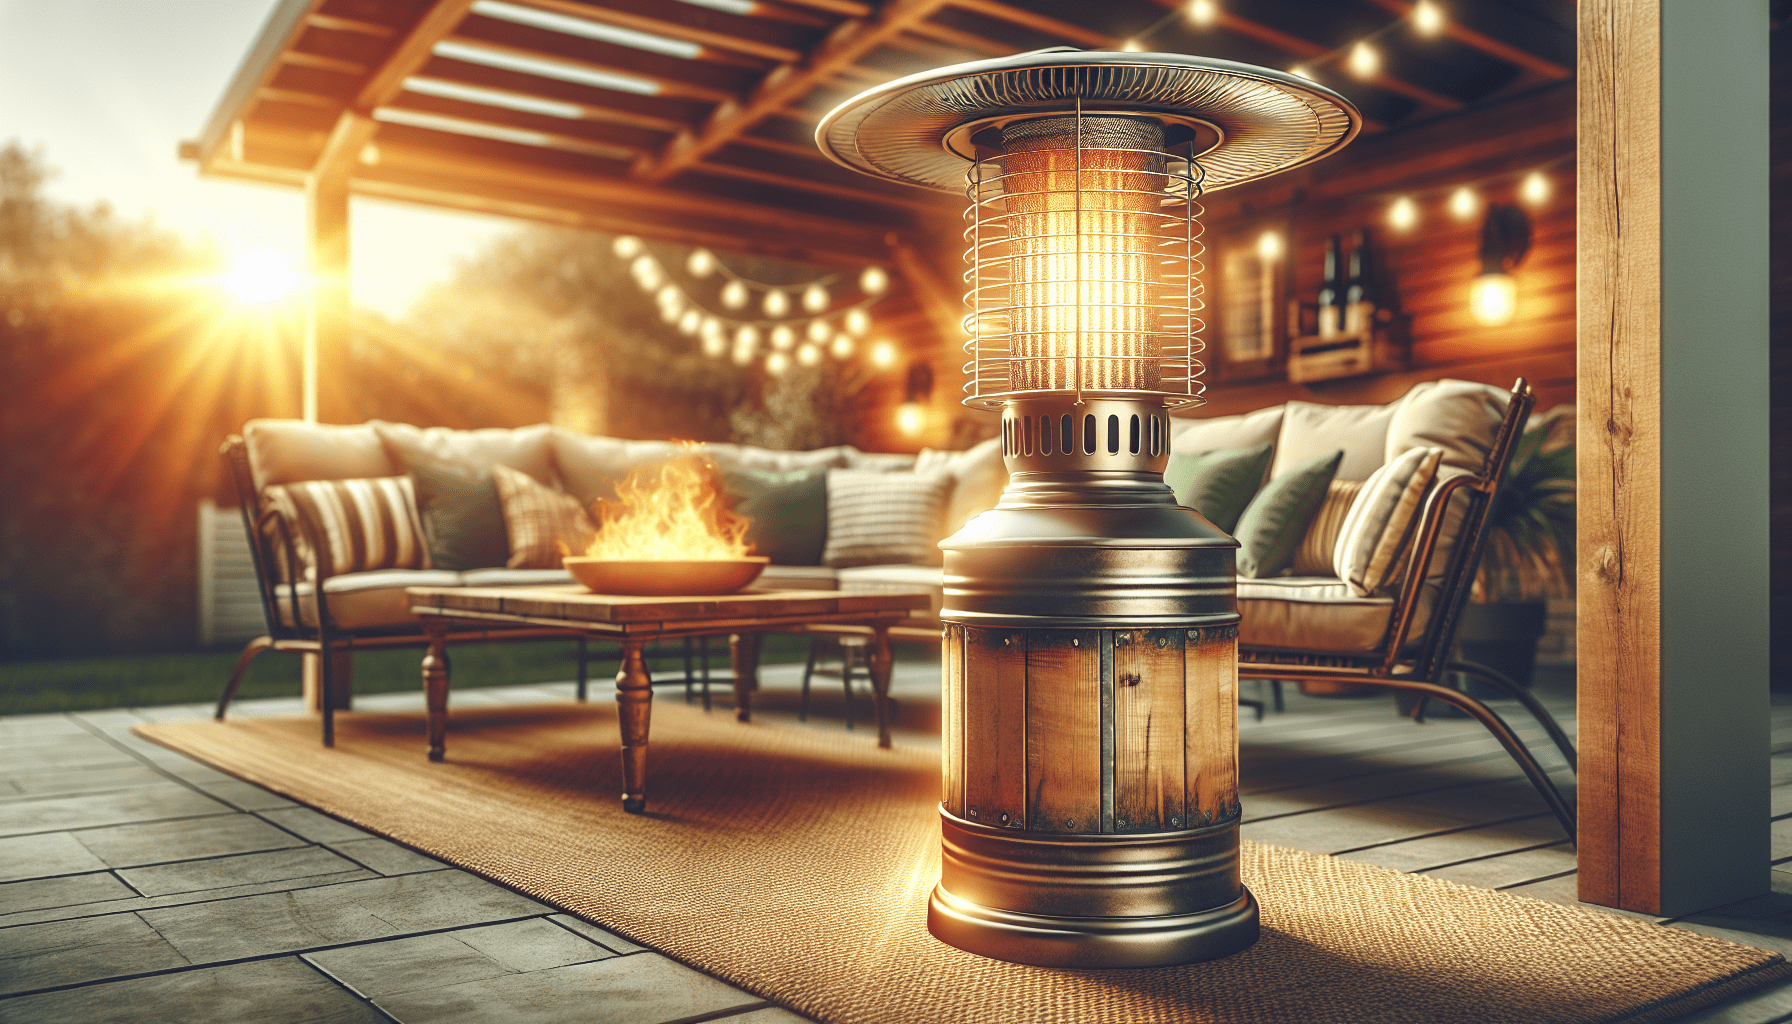
Propane patio heaters are popular because they are portable and provide significant heat output. Brands like AmazonBasics and Hampton Bay offer models that are easy to operate and refill. These heaters typically use a 20-lb propane tank and can provide warmth for 10-12 hours.
Natural Gas Patio Heaters
Natural gas heaters are a more permanent solution as they connect to the natural gas supply line of your home. Brands such as Bromic and Sunpak have reliable options in this category. This type of heater is an excellent choice if you don’t want the hassle of refueling but requires professional installation.
Electric Patio Heaters
Electric patio heaters, like those from Infrared Dynamics or Ener-G+, are user-friendly and often more environmentally friendly. They can be mounted on walls or ceilings and provide instant heat at the push of a button. These heaters are a good option if you have access to an outdoor outlet.

Materials Needed for a DIY Patio Heater
When building a DIY patio heater, gather materials that ensure safety, efficiency, and aesthetic appeal. Below is a list of commonly used materials and tools:
| Materials | Tools |
|---|---|
| Metal tubing or pipes | Drill |
| Heat-resistant paint | Wrench |
| Hose for propane or natural gas | Pipe cutter |
| Temperature-resistant glass or mesh | Screwdriver |
| Screws and bolts | Sandpaper |
| Ignition kit | Safety goggles |
| Reflector | Gloves |
| Thermometer | Fire extinguisher (safety first!) |
For this project, we’ll focus on building a propane heater as it’s relatively simple for beginners and versatile for most patio setups.
Step-by-Step Guide to Building Your DIY Patio Heater
Step 1: Design Your Heater
Start by sketching a design of your heater. Consider its height, width, and shape. Will it be a tabletop model or a standing heater? Think about where you will place it in your yard and how it will complement your outdoor decor.
Step 2: Gather Your Materials
Once you have a design in mind, gather all necessary materials and tools. Double-check all your components to ensure they are heat-resistant and capable of handling the amount of heat your heater will generate. Safety should be your priority.
Step 3: Construct the Base
For a sturdy base, you will need a metal pipe or tubing. Using a pipe cutter, trim the metal tube to your desired height. Ensure the base is wide enough to prevent the heater from tipping over. Secure the base with bolts and ensure all parts are tightly fitted.
Step 4: Attach the Propane Tank
Secure the propane tank to the base. Make sure it is firmly in place and easily accessible for refilling. Connect the hose from the tank to the burner head at the top of the heater using a wrench to tighten the screws.
Step 5: Install the Burner
Install the burner on top of the metal tube. Ensure it is positioned correctly for optimal heat distribution. Attach the ignition kit and test it to make sure it functions correctly.
Step 6: Add the Reflector
A reflector is essential as it directs the heat downward onto your sitting area. Secure the reflector onto the burner using screws. Make sure it covers the burner entirely for maximum efficiency.
Step 7: Paint and Decorate
Once the functional parts are in place, you can paint the heater with heat-resistant paint. This step not only adds aesthetic value but also offers an extra layer of protection against the elements.
Step 8: Safety Check
Perform a comprehensive safety check. Ensure there are no gas leaks by applying a soapy water solution to all connections (bubbles indicate a leak). Check the stability of the heater and confirm the ignition system works reliably.


DIY Heater Maintenance Tips
To ensure your DIY patio heater remains functional and safe, regular maintenance is essential. Here are some tips:
Regular Cleaning
Dirt and debris can clog the burner, diminishing the heater’s efficiency. Clean the burner and reflector regularly with a soft brush.
Inspect for Wear and Tear
Frequently inspect the heater for any signs of wear and tear. Replace worn-out components promptly to avoid any safety hazards.
Store Safely
If you live in an area with harsh weather conditions, consider storing your heater indoors or covering it with a waterproof cover.
Comparing DIY vs. Store-Bought Patio Heaters
Building your own patio heater can save you up to 50% of the cost compared to commercial options, which range from $100 to $500. However, there are pros and cons to consider:
| Factor | DIY Patio Heater | Store-Bought Heater |
|---|---|---|
| Cost | Lower cost, around $150 for materials | Higher cost, $100-$500+ |
| Customization | Highly customizable to fit your space | Limited to available designs |
| Safety | Requires meticulous safety checks | Typically passes safety standards |
| Time Investment | Significant time and effort required | Ready to use out of the box |
| Learning Experience | Educational and rewarding | Minimal learning |

Environmental Impact
Choosing to build a heater yourself can also be a more environmentally friendly option. By utilizing repurposed materials and adhering to efficient fuel practices, you can mitigate your carbon footprint. Moreover, incorporating renewable fuels like bio-propane can make your DIY project even greener.
Suppliers for DIY Projects
Finding the right suppliers for materials can make a significant difference in your DIY journey. Here are a few reputable suppliers you might consider:
Home Depot
Home Depot offers a wide range of materials, from metal tubing to heat-resistant paint. You can also find various tools required for your project.
Lowe’s
Lowe’s provides similar options to Home Depot and often has seasonal sales that can help you save further on your project.
Amazon
For specialized components like ignition kits and reflectors, Amazon has a broad selection. Be sure to read reviews to ensure the quality of the products.
Reader Stories and Experiences
It might be inspiring to hear from others who have successfully built their own patio heaters. Jessica from Austin says, “Building my own patio heater was a weekend project that turned out amazing. I found a unique design online and tweaked it a bit to fit my backyard. It saved me around $200 and every time I use it, it feels like an accomplishment!”
Troubleshooting Common Issues
Heater Won’t Ignite
If your heater won’t ignite, the problem could be with the ignition system. Double-check all connections and ensure the propane tank has enough gas. If needed, consult the manufacturer’s manual for troubleshooting steps or replace the ignition kit.
Uneven Heat Distribution
Uneven heat distribution can often be solved by adjusting the reflector. Ensure it is correctly installed and covers the burner entirely. Sometimes a simple cleaning of the burner head can also resolve this issue.
Gas Leaks
If you suspect a gas leak, immediately turn off the heater and ventilate the area. Apply a soapy water solution to the gas connections to identify leaks. If you find bubbles forming, tighten the connections or replace the faulty parts.
Enhancing Your Outdoor Space Beyond Heating
While a DIY patio heater can significantly extend your outdoor time, consider other enhancements for a true cozy retreat.
Outdoor Furniture
Investing in comfortable and weather-resistant outdoor furniture can make your patio an extension of your living room. Brands like Keter and Yardbird offer a range of stylish and durable options.
Lighting
Adding appropriate outdoor lighting can enhance the ambiance. Solar-powered string lights or lanterns are both eco-friendly and charming.
Plants
Incorporate potted plants or a small garden area to bring a touch of nature to your patio. Plants not only beautify your space but help in creating a relaxing environment.
Fire Pits
If you enjoy the allure of open flames, building a small fire pit can complement your DIY heater. Ensure it is constructed safely with non-flammable materials and meets any local regulations.
Rugs and Throws
Outdoor rugs and throws offer an added layer of comfort and warmth. Choose materials that are resistant to the elements to ensure they last throughout the seasons.
Final Thoughts
Building your own DIY patio heater is a rewarding project that can save you money while adding a personalized touch to your outdoor space. With careful planning, attention to safety, and a bit of creativity, you can create a warm, inviting patio area to enjoy all year round.
Whether it’s extending your gatherings into the chilly evenings or simply enjoying a quiet moment with a book, the right patio heater can make a world of difference. Remember, each step of the process not only brings you closer to a functional heater but also offers a hands-on learning experience that adds to your DIY repertoire.
May your patio become a cherished retreat, as cozy and warm as your indoor haven.
