Have you recently decided to install a chimney-vented oil heater in your home and are looking for a friendly and detailed guide to help you through the process? Don’t worry, you’re in the right place! Chimney-vented oil heaters are a wonderful option for many homes, providing consistent and efficient heating throughout the colder months. In this guide, I will walk you through everything you need to know about installing a chimney-vented oil heater, breaking down every step to make the process as straightforward and approachable as possible.


What is a Chimney Vented Oil Heater?
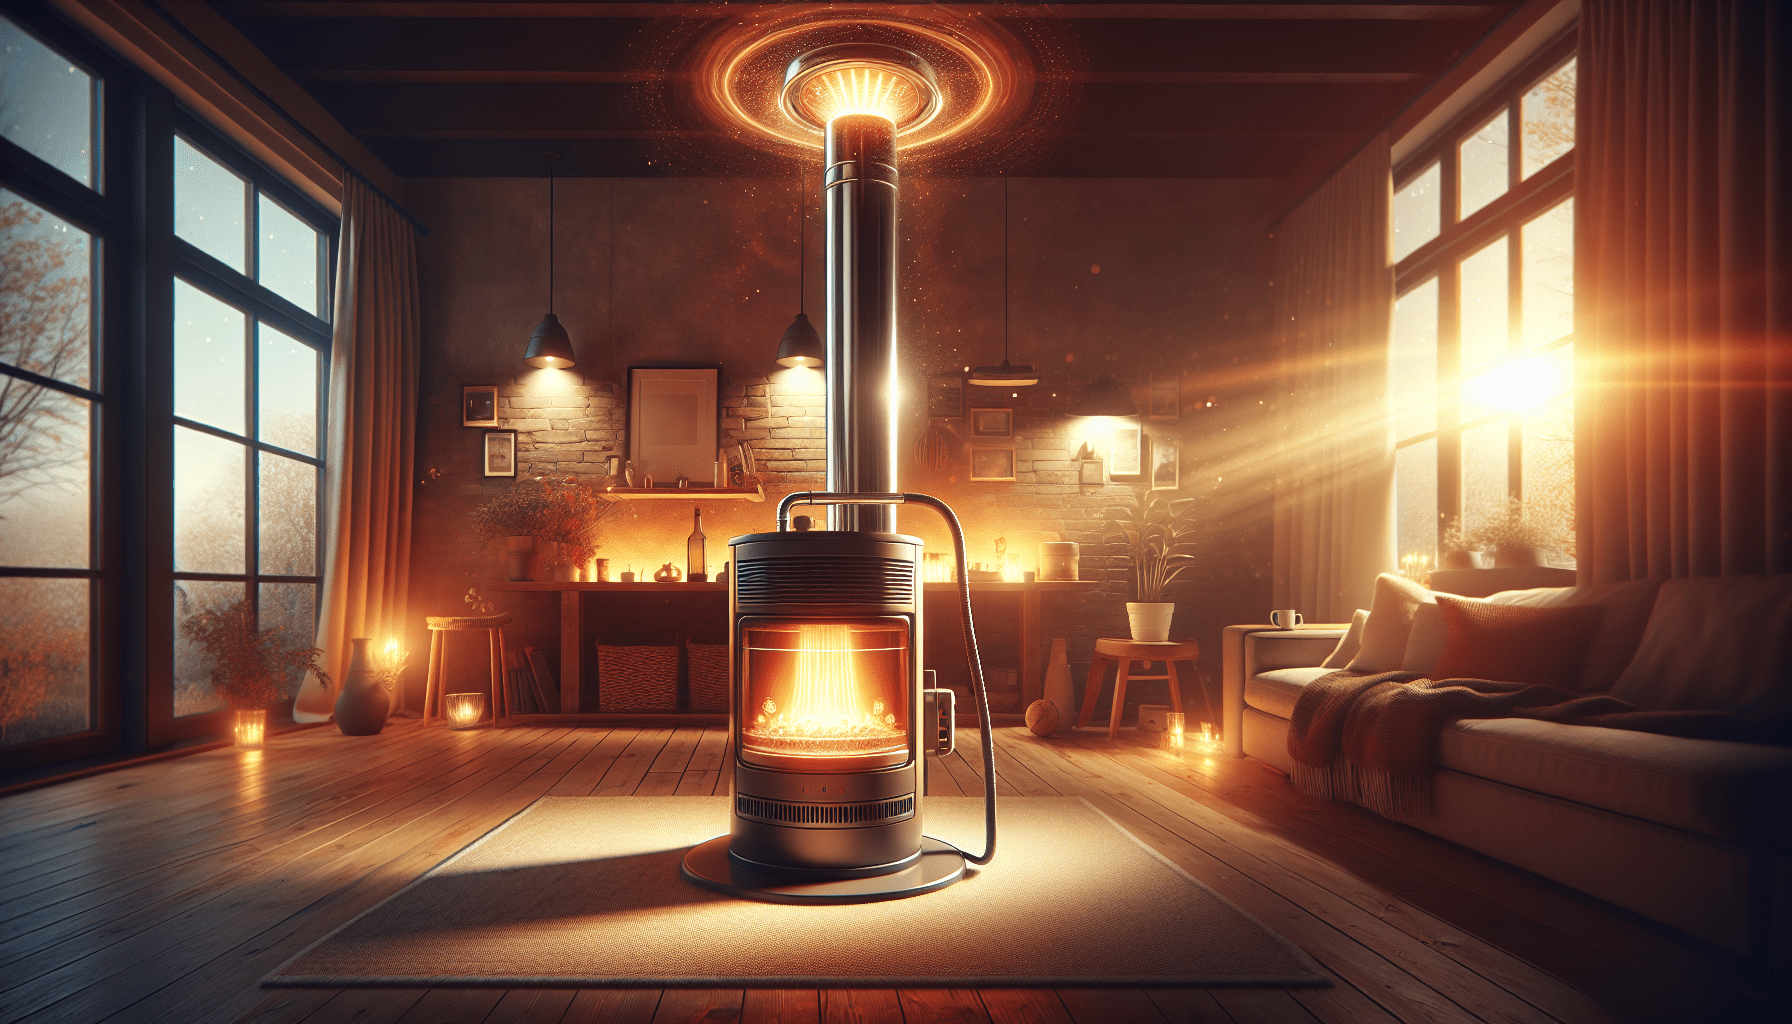
Before you dive into the installation, it’s essential to understand what a chimney-vented oil heater is and how it functions. These heaters burn oil to produce heat and then vent the combustion gases through a chimney. The heat generated warms the surrounding air, which can then be circulated throughout your home.
Advantages and Considerations
It’s always good to know what you’re getting into. Chimney-vented oil heaters have several benefits, but there are also a few considerations to keep in mind.
Advantages:
- Efficiency: These heaters are known for their reliable and powerful performance.
- Longevity: They are built to last for many years with proper maintenance.
- Consistent Heat: Oil heaters provide steady warmth, keeping your home cozy.
Considerations:
- Installation Complexity: The installation process can be a bit detailed.
- Fuel Storage: You’ll need a dedicated space for oil storage.
- Regular Maintenance: Regular upkeep is essential to keep your heater functioning optimally.
Preparation Before Installation
Preparation is key to a smooth installation process. There are certain steps to take before even beginning to install your chimney-vented oil heater. Let’s go through those steps one by one.
Choosing the Right Location
The location of your heater is crucial for its efficiency and safety. You need to pick a spot that is accessible yet out of the way.
Things to Consider When Choosing a Location:
- Proximity to Chimney: The heater should be close to the chimney to minimize vent piping.
- Ventilation: There should be good air circulation around the heater.
- Space: Ensure there is adequate space for maintenance and service.
- Floor Protection: The floor beneath the heater should be non-combustible or protected by a suitable mat or base.
Gathering Necessary Tools and Materials
Having the right tools and materials at your disposal can save you a lot of time and frustration. Here’s a comprehensive list of what you’ll need for the installation:
Tools:
| Tool | Purpose |
|---|---|
| Wrench Set | For tightening fittings |
| Screwdrivers | For securing components |
| Pipe Cutter | To cut ventilation and fuel pipes |
| Level | Ensure everything is properly aligned |
| Tape Measure | For precise measurements |
| Electric Drill | To make holes for screws and anchors |
| Flashlight | To see in dark or tight spaces |
Materials:
| Material | Purpose |
|---|---|
| Heater Unit | The main component |
| Vent Pipe | For venting combustion gases |
| Fuel Line | To connect the heater to the oil tank |
| Baseplate | Protects the floor |
| Sealant | Ensure leak-proof connections |
| Screws and Anchors | For securing the unit |
| Insulation | For fuel lines |
Safety Precautions
Installation involves working with flammable materials and potential hazards. Here are some essential safety precautions to follow:
- Turn Off Power: Ensure that power is turned off to avoid electrical hazards.
- Proper Ventilation: Work in well-ventilated areas to avoid inhaling fumes.
- Wear Protective Gear: Use gloves, safety glasses, and appropriate clothing.
- Check Regulations: Make sure you comply with local building codes and regulations.

Step-by-Step Installation Guide
Now that you’re prepared, let’s jump into the step-by-step process of installing your chimney-vented oil heater.
Step 1: Install the Baseplate
The first step in installing your heater is securing the baseplate. It serves as a foundation, ensuring that the heater is stable and protecting the floor from potential heat damage.
- Position the Baseplate: Place it in your chosen location, making sure it is level.
- Mark the Holes: Use a pencil to mark where you’ll need to drill holes for the screws.
- Drill Holes: Carefully drill the marked holes.
- Secure the Baseplate: Use screws and anchors to secure the baseplate firmly to the floor.
Step 2: Set Up the Heater Unit
With the baseplate secured, you can now install the heater unit itself.
- Place the Heater: Carefully lift the heater onto the baseplate.
- Check Alignment: Ensure the unit is centered and level.
- Secure the Heater: Use bolts and screws to anchor the heater to the baseplate.
Step 3: Install the Vent Pipe
The next step involves setting up the vent pipe to direct combustion gases out of your home.
- Choose Pipe Path: Determine the most direct route from the heater to the chimney.
- Measure and Cut: Measure the length of the pipe you need and cut it accordingly.
- Attach Pipe Sections: Connect the sections of the vent pipe, securing them with clamps or screws.
- Seal Joints: Use sealant at each joint to ensure there are no leaks.
- Connect to Chimney: Finally, attach the vent pipe to the chimney, ensuring a tight and secure fit.
Step 4: Connect the Fuel Line
With the vent pipe in place, you’ll now enable fuel flow to your heater by setting up the fuel line.
- Plan Route: Plan the shortest and safest route from your oil tank to the heater.
- Cut Fuel Line: Cut the fuel line to the appropriate length.
- Install Shutoff Valve: Attach a shutoff valve at the oil tank for safety.
- Connect to Heater: Securely attach the fuel line to the heater’s fuel inlet.
- Insulate Line: Wrap the fuel line with insulation to prevent freezing.
Step 5: Electrical Connections
If your heater has electrical components, you’ll need to make the necessary electrical connections.
- Locate Electrical Panel: Find your home’s electrical panel and switch off the power.
- Install Circuit Breaker: Install a dedicated circuit breaker for your heater.
- Run Wiring: Run the electrical wire from the breaker to the heater.
- Connect Wires: Connect the wires to the heater’s electrical terminals, following the manufacturer’s instructions.
- Test Connections: Double-check all connections to ensure they are secure.
Step 6: Initial Startup and Testing
Now that everything is connected, it’s time to fire up your heater for the first time and run some tests to make sure everything is working correctly.
- Turn On Power: Switch on the power at the electrical panel.
- Open Shutoff Valve: Open the fuel shutoff valve on the oil tank.
- Start Heater: Follow the manufacturer’s guidelines to start the heater.
- Check Flames: Ensure the flames are steady and blue, indicating efficient combustion.
- Monitor Venting: Examine the vent pipe for any signs of leakage.
Step 7: Professional Inspection
Even if you’re confident in your installation, it’s always a good idea to have a professional inspect your work. This not only ensures safety but can also point out areas for efficiency improvement.
Maintenance Tips
Regular maintenance is vital for the long-term efficiency and safety of your heater.
Annual Maintenance Checklist
1. Inspect Fuel Lines:
- Check for Leaks: Look for any signs of wear or leaks.
- Replace Worn Parts: Replacing worn parts can prevent future problems.
2. Clean Vent Pipe:
- Remove Soot: Soot buildup can reduce efficiency.
- Inspect for Damage: Repair or replace any damaged sections.
3. Service Burner:
- Clean Burner Components: A clean burner ensures efficient fuel combustion.
- Check Flame: Make sure the flame is still steady and blue.
4. Check Safety Features:
- Test Shutoff Valve: Ensure the shutoff valve functions correctly.
- Inspect Electrical Connections: Make sure all electrical connections are still secure.
Troubleshooting Common Issues
Even with the most meticulous installation, issues can arise. Here are some common problems you might encounter and tips for resolving them.
1. Heater Won’t Start
Possible Causes:
- No Fuel: Check the fuel level in the tank.
- Electrical Issue: Ensure the connections are secure and the breaker is on.
- Flame Sensor: Dirty or faulty flame sensors may prevent startup.
2. Inconsistent Heating
Possible Causes:
- Clogged Burner: Clean or replace the burner.
- Vent Blockage: Check the vent pipe for obstructions.
- Thermostat Issues: Test and recalibrate the thermostat.
3. Unusual Noises
Possible Causes:
- Air in Fuel Line: Bleed the fuel line to remove air pockets.
- Loose Components: Tighten any loose bolts or screws.
- Burner Issues: Inspect and clean the burner.
Final Thoughts
Installing a chimney-vented oil heater can seem daunting, but with the right preparation and step-by-step guidance, it can be a manageable and rewarding project. Remember, safety and attention to detail are paramount. Regular maintenance will keep your heater running efficiently for years, providing a warm and comfortable home environment.
So, take your time, follow each step thoroughly, and soon enough, you’ll have a well-installed chimney-vented oil heater keeping your home cozy through the cold months. Should you have any doubts along the way, don’t hesitate to call in a professional for assistance.
By now, you’re ready to embark on your installation journey confidently and equipped with the knowledge to ensure a smooth process. Stay safe, and enjoy the comfort of your newly installed chimney-vented oil heater!