Are you a culinary enthusiast looking to take your baking skills to the next level? Look no further than the Professional Chef’s Guide to Using Stand Mixers Effectively. This comprehensive article will provide you with all the essential tips and tricks you need to maximize the potential of your stand mixer. From selecting the right attachments to mastering different mixing techniques, this guide has got you covered. Discover how to achieve perfectly combined batters, doughs, and more with the help of this indispensable kitchen tool. Whether you’re a seasoned chef or a baking novice, this guide is sure to elevate your culinary creations to new heights. So, grab your apron and let’s get mixing!
Choosing the Right Stand Mixer
When it comes to choosing the right stand mixer for your kitchen, there are several factors to consider. One of the most important factors is the power of the mixer. Stand mixers come in a range of power options, typically measured in watts. The higher the wattage, the more powerful the mixer will be. If you plan on using your mixer for heavy-duty tasks like kneading bread dough or mixing thick batters, it’s important to choose a mixer with a higher wattage.
Another important feature to look for in a stand mixer is variable speed controls. Different recipes and mixing tasks require different speeds, so having the ability to adjust the speed of your mixer is essential. Look for a mixer that offers a range of speeds, from low to high, so you have the flexibility to handle a variety of recipes.
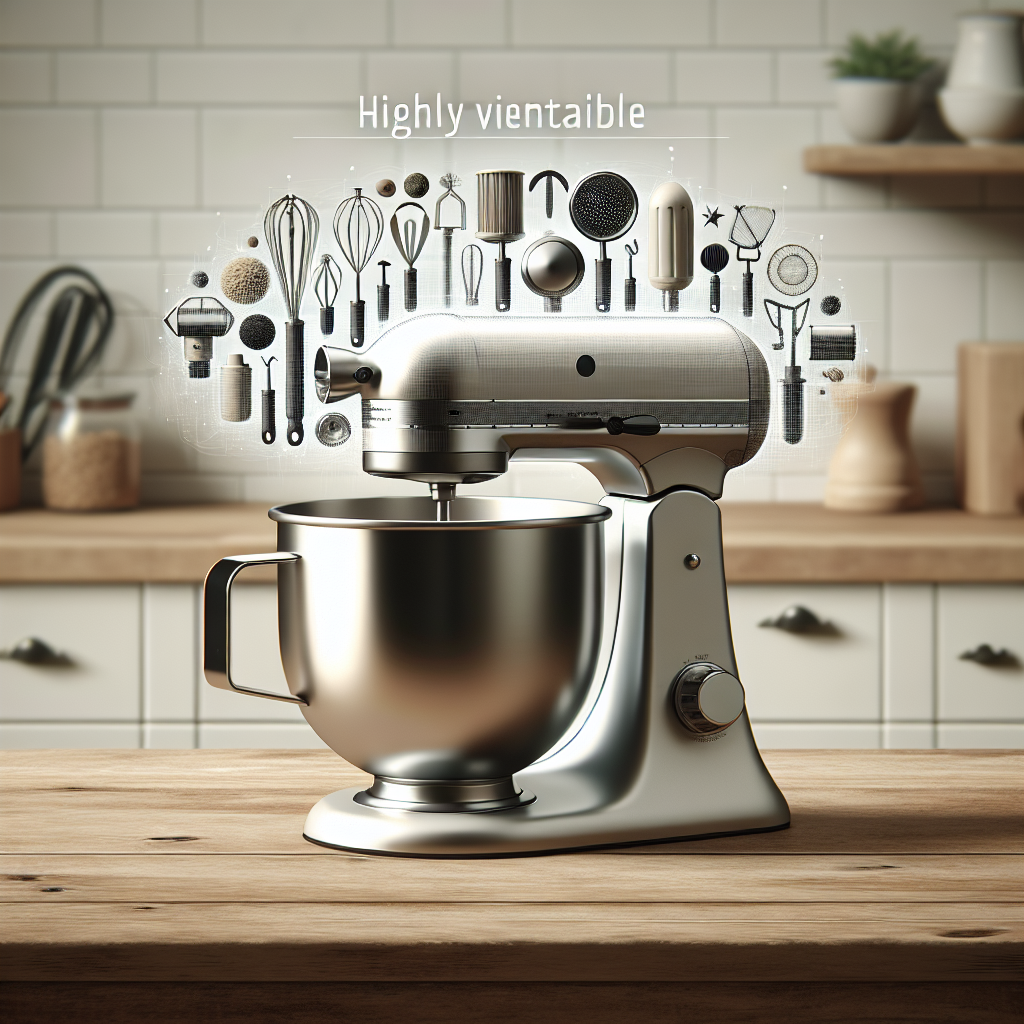
Attachments and accessories are another consideration when choosing a stand mixer. Many mixers come with a standard set of attachments, including a beater, whisk, and dough hook. These attachments are versatile and can handle a wide range of mixing tasks. However, some mixers also offer additional attachments and accessories that can expand the functionality of your mixer. Consider what types of recipes you’ll be making and whether any additional attachments would be useful to you.
Understanding the Stand Mixer Parts
Before you start using your stand mixer, it’s important to familiarize yourself with the different parts and components. The main components of a stand mixer include the bowl, the beater/whisk/dough hook attachments, the speed control dial, and the tilt-head/lift-bowl mechanism.
The bowl is where you’ll be mixing your ingredients. Stand mixer bowls come in a variety of sizes, so choose one that suits the amount of cooking and baking you do. The size of the bowl will also determine the capacity of the mixer, so consider how much you typically need to mix at one time.
The beater, whisk, and dough hook attachments are what you’ll use to mix your ingredients. The beater attachment is ideal for general mixing tasks, like making cookie dough or cake batter. The whisk attachment is perfect for whipping cream or egg whites to a fluffy consistency. The dough hook attachment is designed for kneading bread dough and other heavy mixtures.
The speed control dial allows you to adjust the speed of the mixer. Some mixers have a simple low and high setting, while others offer a range of speeds in between. Experiment with different speeds to find the perfect setting for each recipe.
The tilt-head/lift-bowl mechanism is how you access the bowl and attachments. Some mixers have a tilt-head design, which allows you to lift the head of the mixer to access the bowl. Other mixers have a lift-bowl design, which means you’ll need to lift the bowl itself to access the attachments. Choose the design that is most convenient for you.
Preparing the Stand Mixer for Use
Before you start using your stand mixer, it’s important to make sure it’s clean and assembled correctly. Start by cleaning the bowl and attachments. Wash them with warm, soapy water and rinse them thoroughly. Dry them completely before assembling the mixer.
Once the bowl and attachments are clean, assemble the stand mixer according to the manufacturer’s instructions. This usually involves attaching the bowl to the base of the mixer and placing the desired attachment onto the mixer head. Make sure everything is securely attached before moving on.
Next, plug in the stand mixer and turn it on. Familiarize yourself with the different speed settings and make sure the mixer is working properly. If there are any issues or strange noises, consult the user manual or contact customer support for assistance.
Using the Stand Mixer for Mixing
Using a stand mixer for mixing is a breeze once you understand the basics. Start by choosing the appropriate attachment for the recipe you’re making. The beater attachment is the most versatile and can handle a wide range of mixing tasks. Attach the beater to the mixer head and make sure it’s secure.
Next, add your ingredients to the bowl. It’s usually best to start with the wet ingredients and then add the dry ingredients. This helps prevent the dry ingredients from flying out of the bowl when you turn on the mixer.
Before turning on the mixer, start at a low speed. This helps prevent any splattering or messes. Gradually increase the speed until you reach the desired mixing speed for your recipe. It’s important to monitor the mixture’s consistency as you mix. If it’s too thick or too thin, you may need to adjust the speed or add additional ingredients.
Using the Stand Mixer for Whipping
Whipping cream or egg whites with a stand mixer is a quick and easy way to achieve fluffy, airy results. To whip ingredients, start by selecting the whisk attachment. This attachment is specifically designed for whipping tasks.
Once you have the whisk attachment in place, add your ingredients to the bowl. This could be heavy cream for whipped cream or egg whites for meringue. Start the mixer on low speed to prevent splattering, then gradually increase the speed as the mixture thickens.
Keep a close eye on the mixture as it whips. You want to stop mixing once you achieve the desired peaks. Soft peaks are perfect for whipped cream, while stiff peaks are ideal for meringue.
Using the Stand Mixer for Kneading
Kneading bread dough can be an exhausting task, but with a stand mixer, it’s a breeze. To knead dough, you’ll need to use the dough hook attachment. This attachment is specifically designed to handle heavy mixtures like bread dough.
Start by adding your ingredients to the bowl. Measure out the flour, yeast, salt, and any other dry ingredients. Then, add the liquids like water or milk. Attach the dough hook to the mixer head, making sure it’s secure.
Begin kneading the dough at a low speed. This helps ensure even mixing and prevents the dough from flying out of the bowl. Keep a close eye on the texture of the dough as you knead. It should come together and form a smooth, elastic ball. If the dough is too sticky or too dry, you may need to adjust the amounts of liquid or flour.
Utilizing Stand Mixer Attachments
One of the great things about stand mixers is their versatility. They come with a range of attachments that allow you to tackle a variety of recipes and tasks. In addition to the beater, whisk, and dough hook attachments, there are many other attachments you can explore.
The paddle attachment is perfect for creaming ingredients together. It’s great for making cookies, cakes, and other baked goods that require a light, fluffy texture. The paddle attachment works by gently incorporating the ingredients and creating a smooth batter.
The dough hook attachment is specifically designed for making breads and other yeast-based doughs. It kneads the dough to develop gluten and create a chewy texture. The dough hook saves you the effort of kneading by hand and ensures even mixing throughout the dough.
The whisk attachment is perfect for making meringues, whipped cream, and other light, airy mixtures. It incorporates air into the ingredients, creating a fluffy and voluminous texture. The whisk attachment is also great for making homemade marshmallows, as it gives them that signature light and fluffy texture.
Maintaining and Cleaning the Stand Mixer
Proper maintenance and cleaning of your stand mixer are important to keep it working effectively and prolong its lifespan. After each use, unplug the mixer and disassemble any removable parts, such as the bowl and attachments.
To clean the bowl, attachments, and exterior of the mixer, wash with warm, soapy water. Use a soft cloth or sponge to remove any residue or food particles. Rinse thoroughly and dry completely before reassembling the mixer.
When storing the stand mixer, make sure it’s in a cool, dry place. Avoid storing it near heat sources or in direct sunlight, as this can cause damage. If possible, store the attachments with the mixer so they’re always easily accessible.
Troubleshooting Stand Mixer Issues
If you encounter any issues with your stand mixer, there are a few common problems to check for. First, make sure all parts are securely attached. Loose attachments or improperly assembled parts can cause the mixer to not work properly. Tighten any loose screws or connections.
If you notice any strange noises or the mixer is vibrating excessively, there may be a problem with the motor or internal components. In this case, it’s best to contact customer support or take the mixer to a professional for inspection and repairs.
Stand Mixer Safety Tips
While stand mixers are generally safe to use, it’s important to follow a few safety guidelines to avoid accidents or injuries. Always keep your hands and utensils clear of the beaters and attachments while the mixer is in operation. It’s easy for fingers or utensils to get caught or injured if they come into contact with the moving parts.
Avoid wearing loose clothing or jewelry while using the mixer. Loose clothing can easily get caught in the moving parts, causing injury or damage to the mixer. It’s best to wear fitted clothing and tuck in any long sleeves or loose ends.
Lastly, always unplug the mixer before cleaning or making any adjustments. This ensures that the mixer won’t accidentally turn on while you’re working on it, reducing the risk of injury.
By following these safety tips and using your stand mixer properly, you can enjoy the convenience and versatility of this essential kitchen tool. From mixing to whipping to kneading, a stand mixer is a chef’s best friend, making cooking and baking tasks a breeze. So choose the right stand mixer for your needs, familiarize yourself with its parts and functions, and start creating delicious recipes with ease!